Spring boot框架简单学习
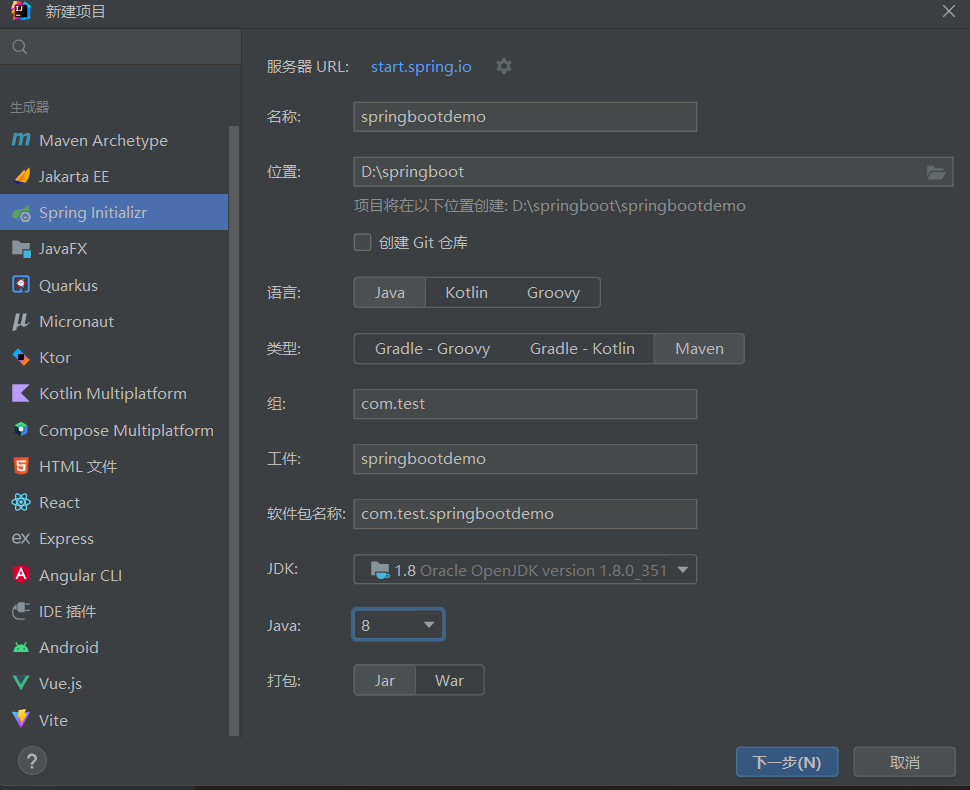
搭建web项目(环境搭建)
我是这样配置的,有需要的师傅可以参考
下载完成后的目录结构
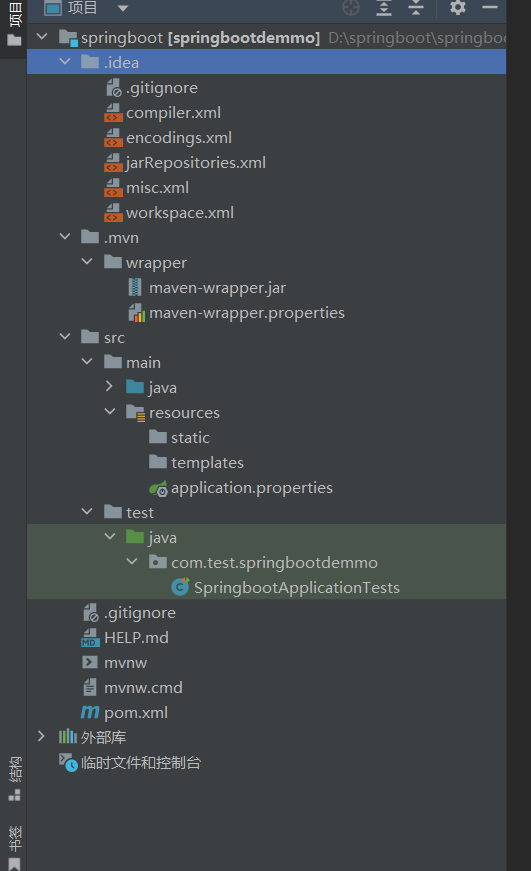
相关文件介绍
java类文件
存在于/src/main/java目录中,目前只有一个SpringbootApplication类
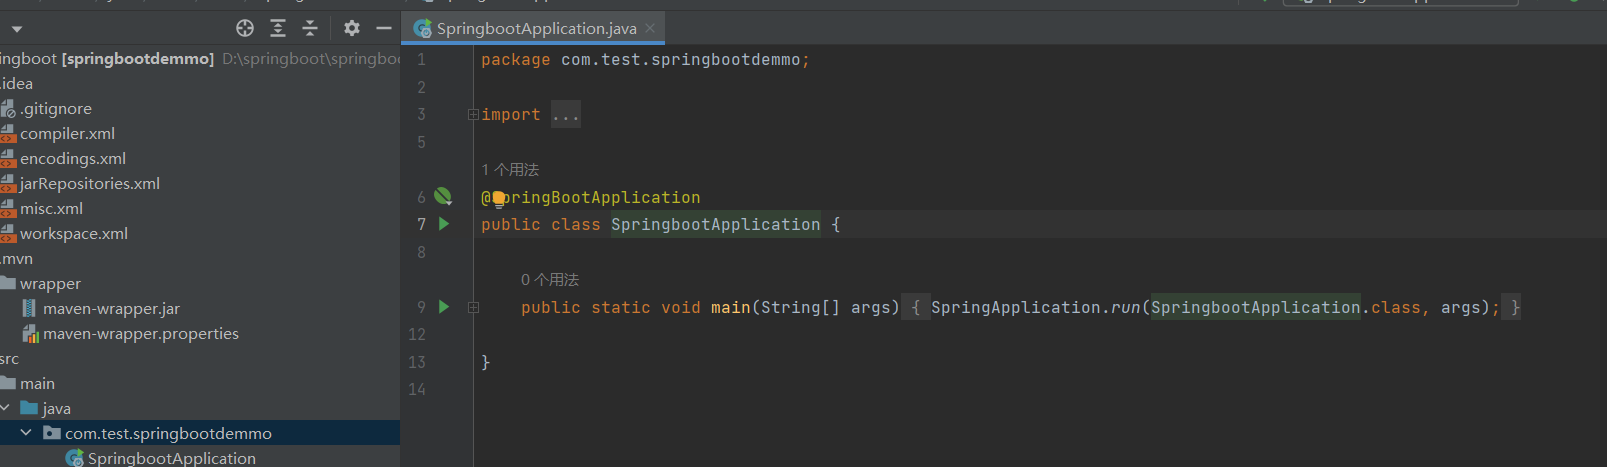
这个类是Spring Boot应用的主程序,其中@SpringBootApplication注解用来说明这是Spring Boot应用的启动类,其中包含自动配置、包扫描等功能,main方法是启动应用的入口方法,命令行或者插件等任何方式启动,都会调用这个方法。
资源文件
- 配置文件
src/main/resources下面主要用于放置Spring Boot应用的配置文件,新建项目的时候会默认创建一个application.properties(默认是一个空文件),也可以将.properties文件修改为.yml文件,用缩进结构的键值对来进行配置。
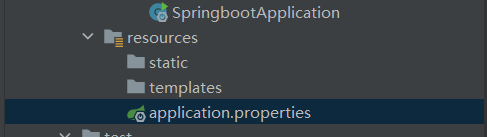
- 静态资源文件
位于src/main/resources/static下面,主要放置应用的静态资源文件,如HTML、JavaScript、图片等。
- 模板文件
位于src/main/resources/templates,下面主要放置应用的模板文件
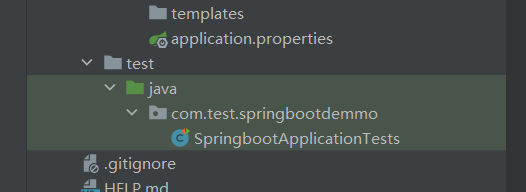
测试类文件
位于src/test/java,下面用于放置Spring Boot测试类文件
pom文件
主要是用于maven添加依赖,位于主目录的pom.xml
运行测试代码
点击SpringbootApplication.java中的运行键即可开始运行整个项目

Spring Boot 项目示例
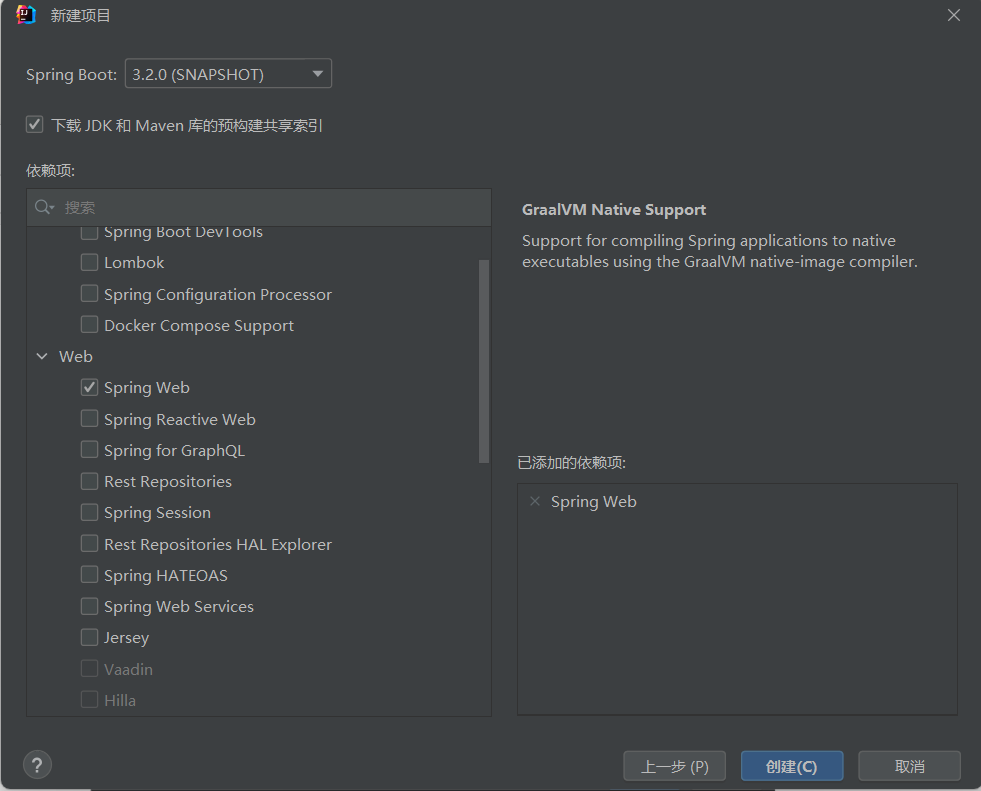
导入相关依赖
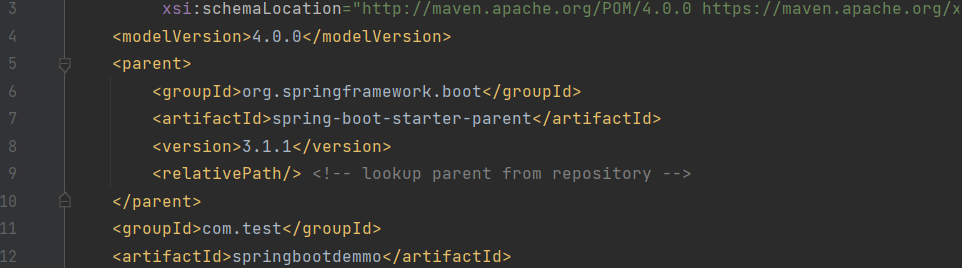
spring-boot-starter-parent依赖
这是一个依赖管理器的pom文件,其作用是管理SpringBoot相关的所有依赖,统一各种依赖jar包的版本号,避免在手动导入其他依赖出现版本不一致的问题,所以在引入其他的依赖时就可以省略版本号。
按照我的正常配置步骤,idea会自动配置对应版本的spring-boot-starter-parent
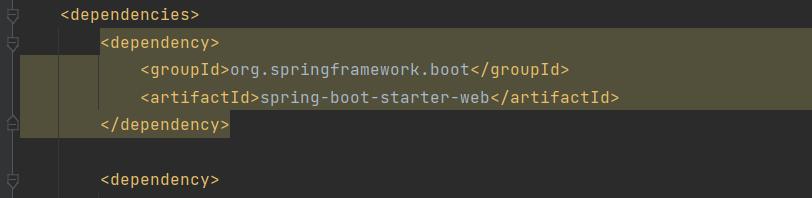
spring-boot-starter-web依赖
这个依赖会自动嵌入tomcat容器,添加了这个依赖,表示支持全栈式Web开发,包括Tomcat和spring-webmvc。并且springboot也会根据classpath中的dependency来自动配置。比如:spring-boot-starter-web会自动装配tomcat容器,并且自动从配置文件application.properties中读取web应用的相关配置,如:server.port。当配置文件application.properties没有配置相关的参数,则采用默认的配置信息,如:没有配置Tomcat的端口,spring-boot-starter-web会自动采用其默认的端口号8080。
编写SpringBoot代码
- 启动器
启动器代码就是刚刚SpringbootApplication.java的代码形式
一些相关注解说明:
@SpringBootApplication:这是一个复合注解,包括@ComponentScan,和@SpringBootConfiguration,@EnableAutoConfiguration。
@ComponentScan,扫描当前包及其子包下被@Component,@Controller,@Service,@Repository注解标记的类并纳入到 Spring 容器中进行管理。和以前的context:component-scan的作用一致。
@SpringBootConfiguration继承自@Configuration,二者功能也一致,标注当前类是配置类,并会将当前类内声明的一个或多个以@Bean注解标记的方法的实例纳入到 Spring 容器中,并且实例名就是方法名。
@EnableAutoConfiguration的作用是启动自动配置,@EnableAutoConfiguration注解的意思就是 Springboot 根据你添加的jar包来配置你项目的默认配置,比如根据 spring-boot-starter-web ,来判断你的项目是否需要添加了 webmvc 和 tomcat,就会自动的帮你配置 web 项目中所需要的默认配置。
@SpringBootApplication(exclude= {DataSourceAutoConfiguration.class})注解中的 exclude 属性,是指在启动时不加载该类,该类会自动去查找 DataSource 的配置。
- 编写页面
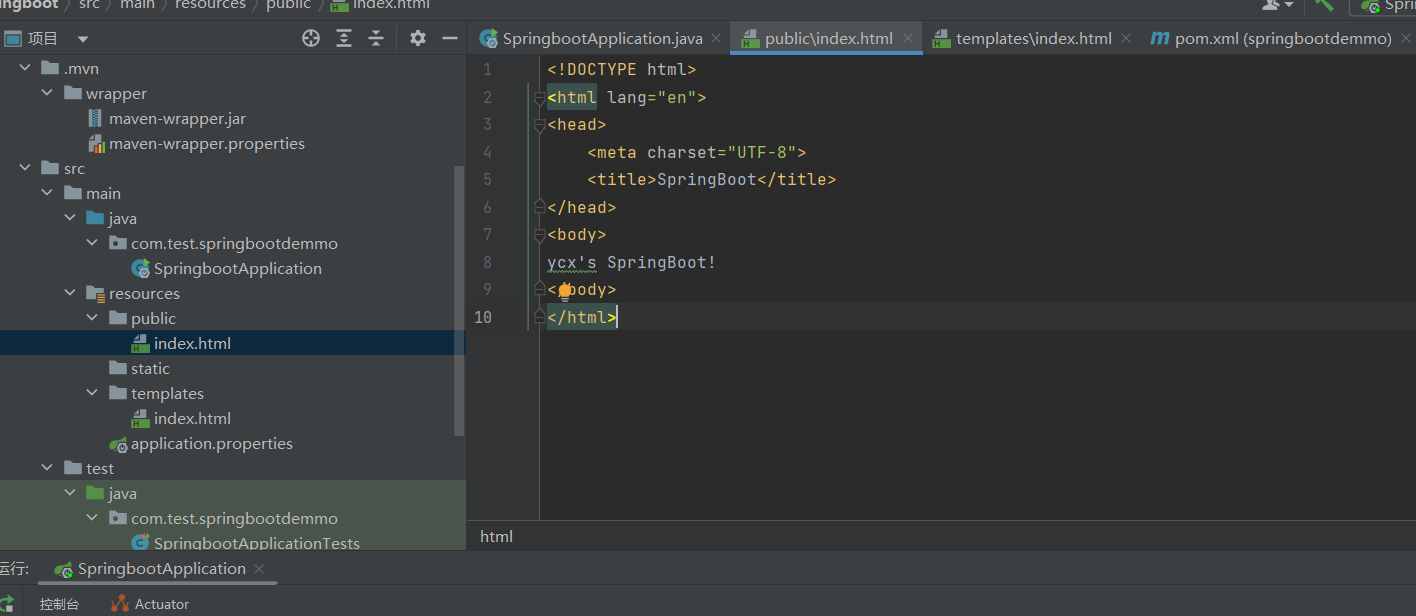
在刚刚说的resources目录下新建一个html文件
index.html
1 |
|
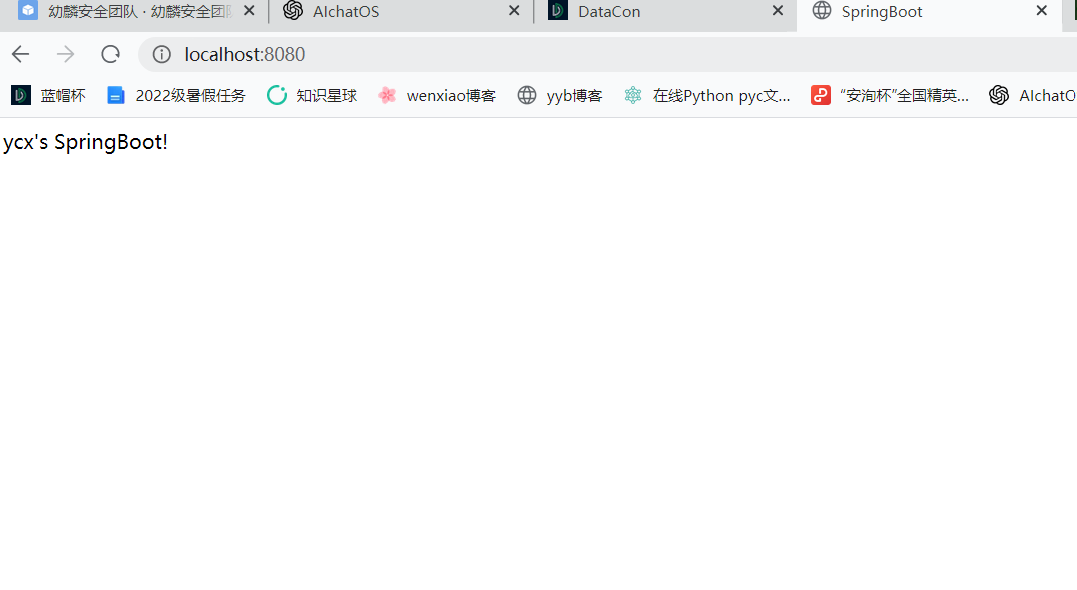
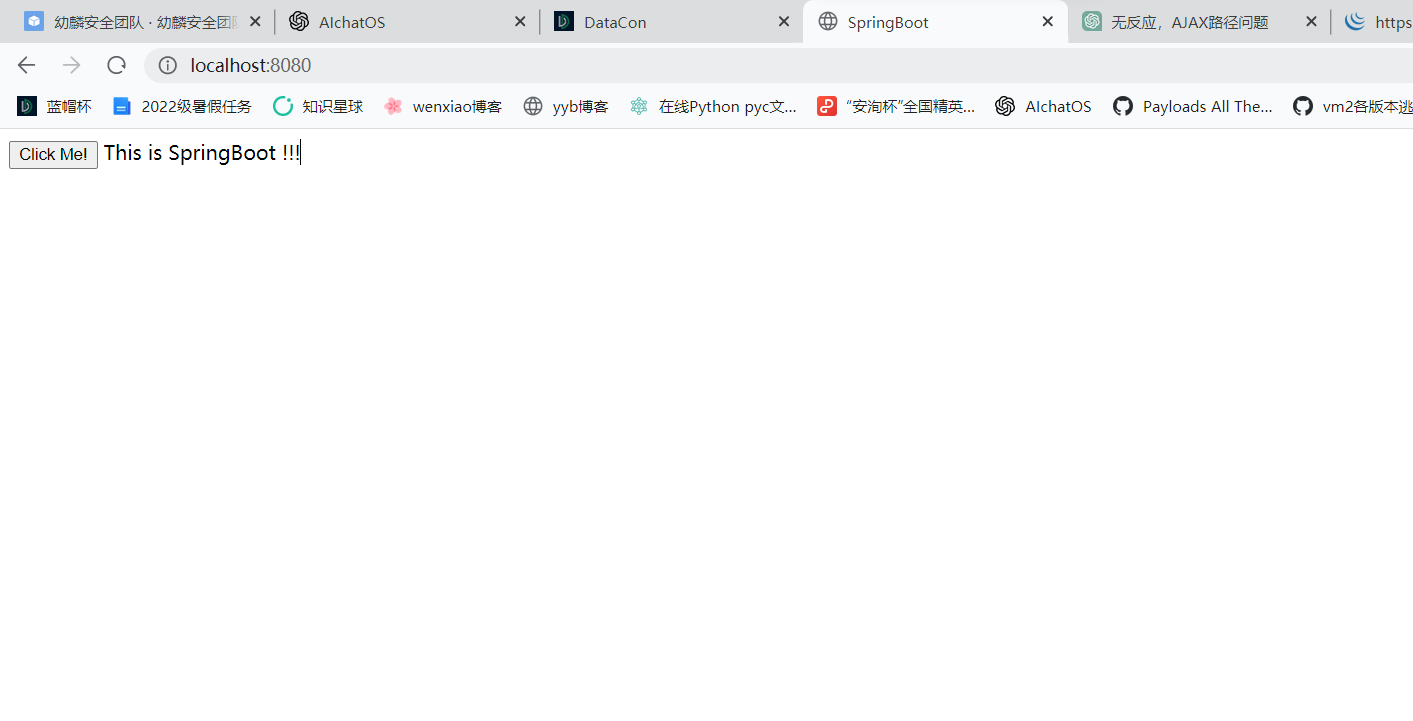
运行一下看看
- 编写java代码
编写一个控制器文件
1 | package com.test.springbootdemmo.controller; |
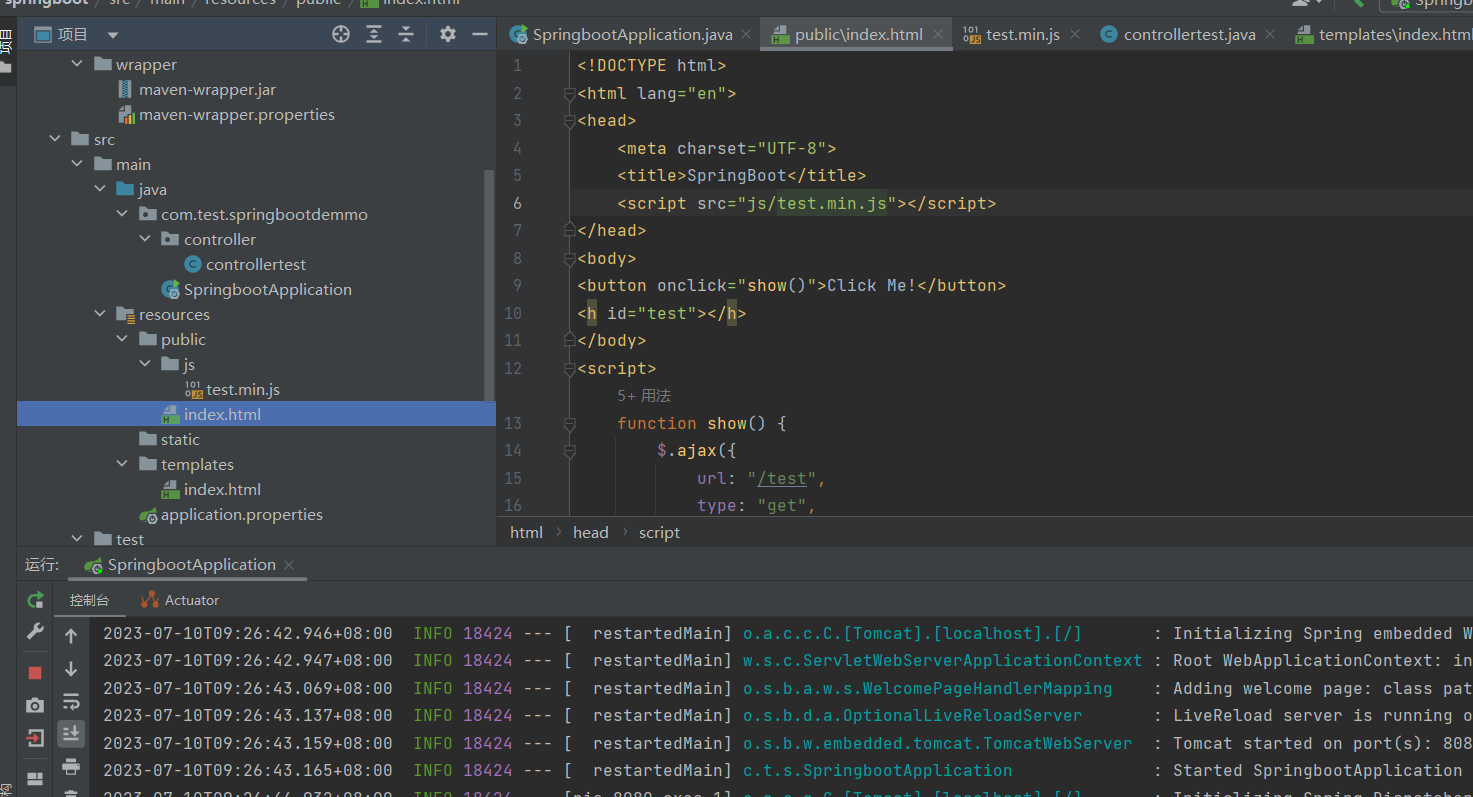
要与前端形成交互的话还需要修改一下index.html文件
1 |
|
开始遇到前端页面是可以正常显示,点击之后却没有任何反应,不知道为啥
后来发现是路径的问题,经过如下修改:
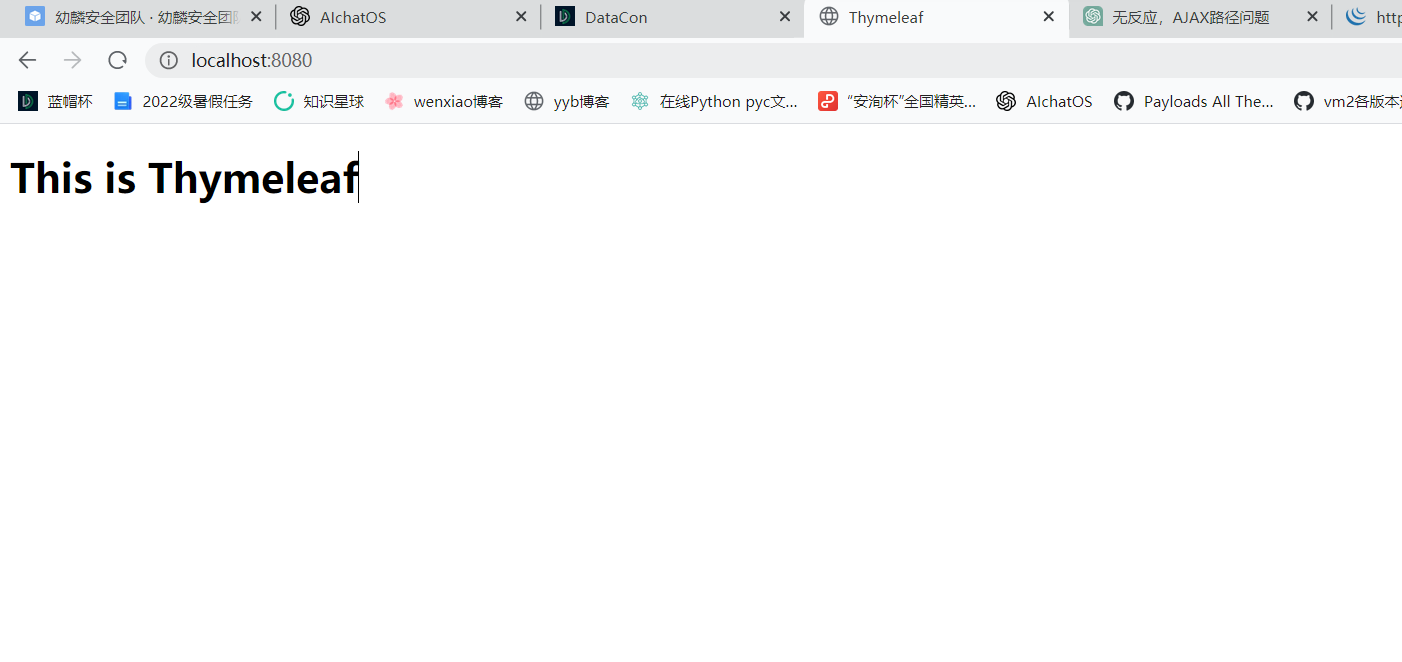
Thymeleaf 页面模板引擎
Thymeleaf是当今比较流行的模板框架,并且是Spring Boot官方推荐使用的模板框架。所以以这个作为示例,类似的模板引擎还有velocity,freemaker
导入依赖
1 | <dependency> |
另外,由于Thymeleaf对HTML的校验特别严格,比如标签没有结束等可能会对不熟悉者造成未知的困惑,因此我们还需要加入nekohtml的依赖来避免这种情况。
1 | <dependency> |
相关配置文件
在application.properties中添加如下内容
1 | ## thymeleaf缓存是否开启,开发时建议关闭,否则更改页面后不会实时展示效果 |
测试
添加如下控制器文件
1 | package com.test.springbootdemmo.controller; |
在templates目录下添加index.html文件
1 |
|
访问: