- Apache Shiro是一个Java 的
安全(权限)框架。
- Shiro可以非常容易的开发出足够好的应用,其不仅可以用在JavaSE环境,也可以用在JavaEE环境。
- Shiro可以完成,
认证,授权,加密,会话管理,Web集成,缓存等.
Shiro三大功能
Shiro有三大核心组件,即Subject、SecurityManager 和 Realm
- Subject: 为
认证主体。应用代码直接交互的对象是Subject,Subject代表了当前的用户。包含Principals和Credentials两个信息。
- SecurityManager:为
安全管理员。是Shiro架构的核心。与Subject的所有交互都会委托给SecurityManager, Subject相当于是一个门面,而SecurityManager才是真正的执行者。它负责与Shiro 的其他组件进行交互。
- Realm:是
一个域。充当了Shiro与应用安全数据间的“桥梁”。Shiro从Realm中获取安全数据(如用户、角色、权限),就是说SecurityManager要验证用户身份,那么它需要从Realm中获取相应的用户进行比较,来确定用户的身份是否合法;也需要从Realm得到用户相应的角色、权限,进行验证用户的操作是否能过进行,可以把Realm看成DataSource,即安全数据源。
Authentication: 身份认证、登录,验证用户是不是拥有相应的身份;
Authorization:授权,即权限验证,验证某个已认证的用户是否拥有某个权限,即判断用户能否进行什么操作,如:验证某个用户是否拥有某个角色,或者细粒度的验证某个用户对某个资源是否具有某个权限!
Session Manager: 会话管理,即用户登录后就是第-次会话,在没有退出之前,它的所有信息都在会话中;会话可以是普通的JavaSE环境,也可以是Web环境;
Cryptography: 加密,保护数据的安全性,如密码加密存储到数据库中,而不是明文存储;
Web Support: Web支持,可以非常容易的集成到Web环境;
Caching: 缓存,比如用户登录后,其用户信息,拥有的角色、权限不必每次去查,这样可以提高效率
Concurrency: Shiro支持多线程应用的并发验证,即,如在一个线程中开启另一个线程,能把权限自动的传播过去
Testing:提供测试支持;
RunAs:允许一个用户假装为另-一个用户(如果他们允许)的身份进行访问;
Remember Me:记住我,这个是非常常见的功能,即一-次登录后, 下次再来的话不用登录了
Shiro架构
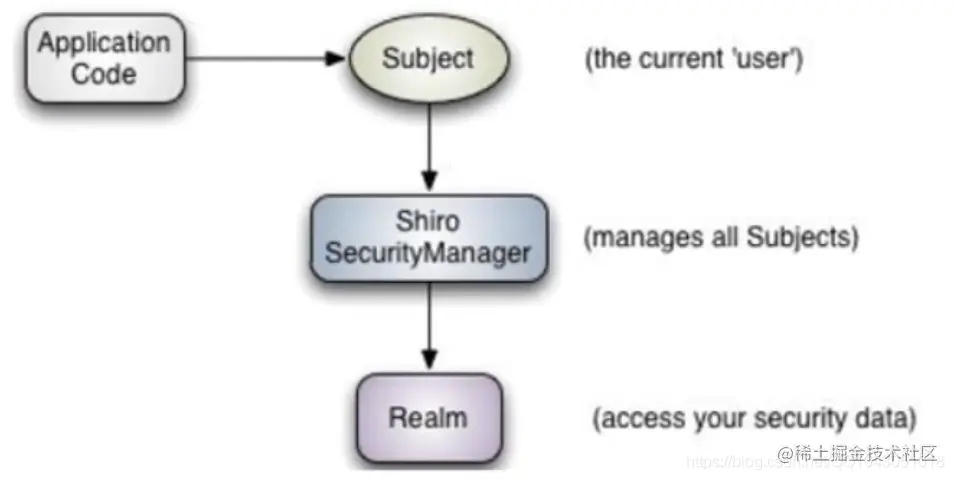
从外部来看Shiro,即从应用程序角度来观察如何使用shiro完成工作: Subject 用户,SecurityManager管理所有用户 Realm连接数据
subject: 应用代码直接交互的对象是Subject, 也就是说Shiro的对外API核心就是Subject, Subject代表了当前的用户,这个用户不一定是一个具体的人,与当前应用交互的任何东西都是Subject,如网络爬虫,机器人等,与Subject的所有交互都会委托给SecurityManager; Subject其实是一一个门面, SecurityManageer 才是实际的执行者。SecurityManager: 安全管理器,即所有与安全有关的操作都会与SercurityManager交互, 并且它管理着所有的Subject,可以看出它是Shiro的核心,它负责与Shiro的其他组件进行交互,它相当于SpringMVC的DispatcherServlet的角色Realm: Shiro从Realm获取安全数据 (如用户,角色,权限),就是说SecurityManager要验证用户身份,那么它需要从Realm获取相应的用户进行比较,来确定用户的身份是否合法;也需要从Realm得到用户相应的角色、权限,进行验证用户的操作是否能够进行,可以把Realm看DataSource;
SpringBoot整合Shiro环境搭建
以spring boot的配置搭建shiro
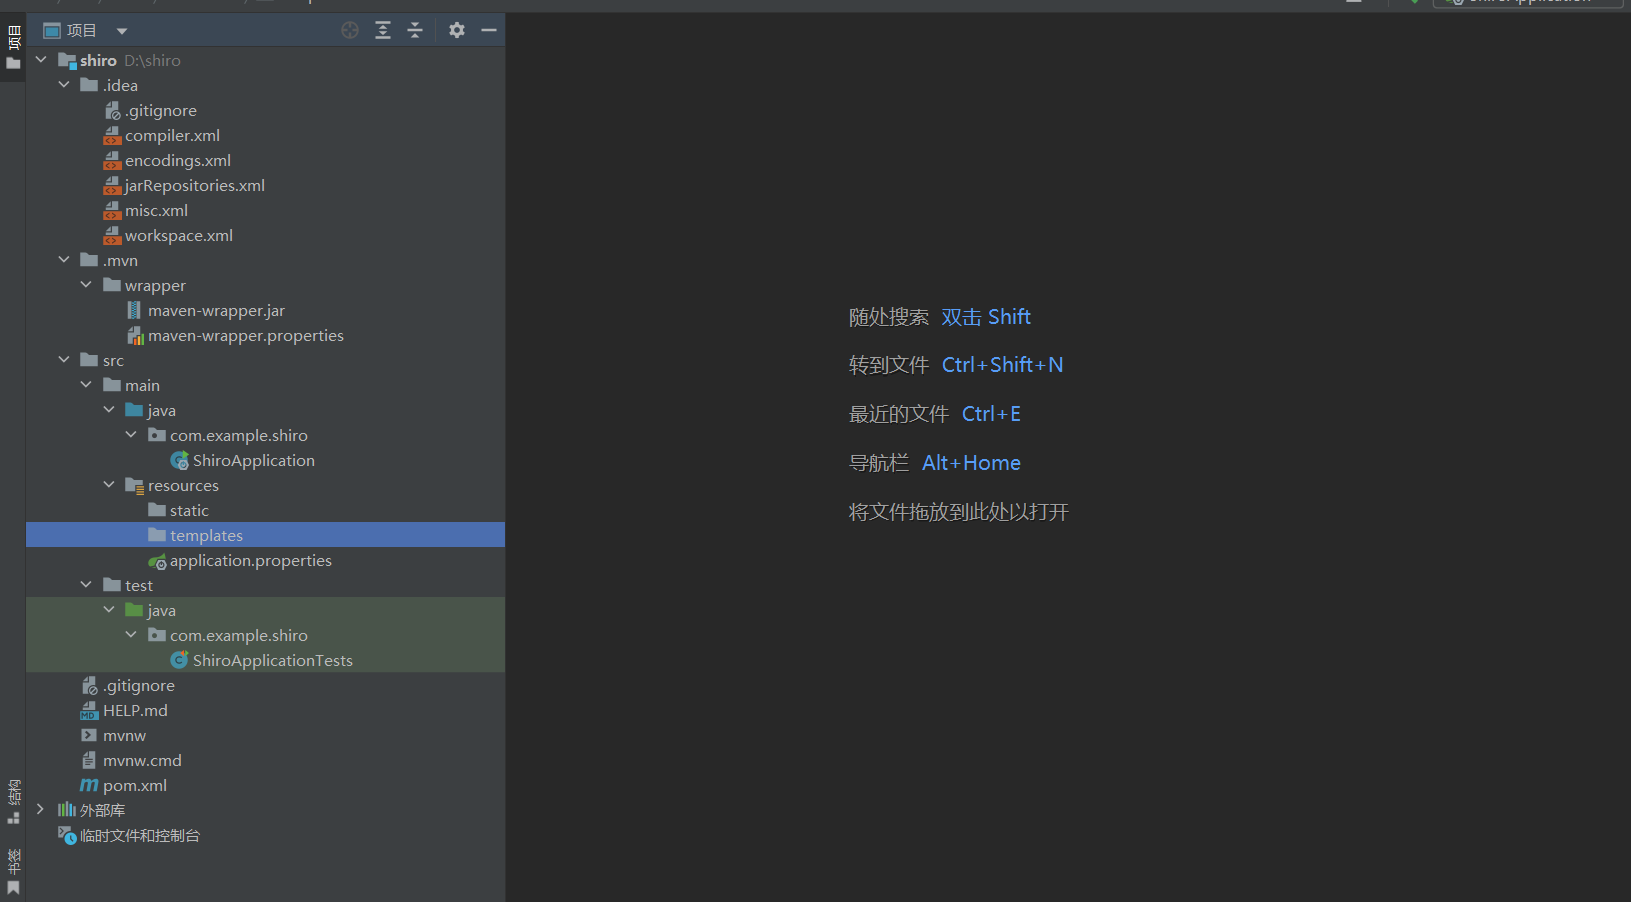
在Templates下新建index.html
1
2
3
4
5
6
7
8
9
10
11
12
13
14
| <!DOCTYPE html>
<html lang="en" xmlns:th="https://www.thymeleaf.org"
xmlns:shiro="https://www.thymeleaf.org/thymeleaf-extras-shiro">
<head>
<meta charset="UTF-8">
<title>Title</title>
</head>
<body>
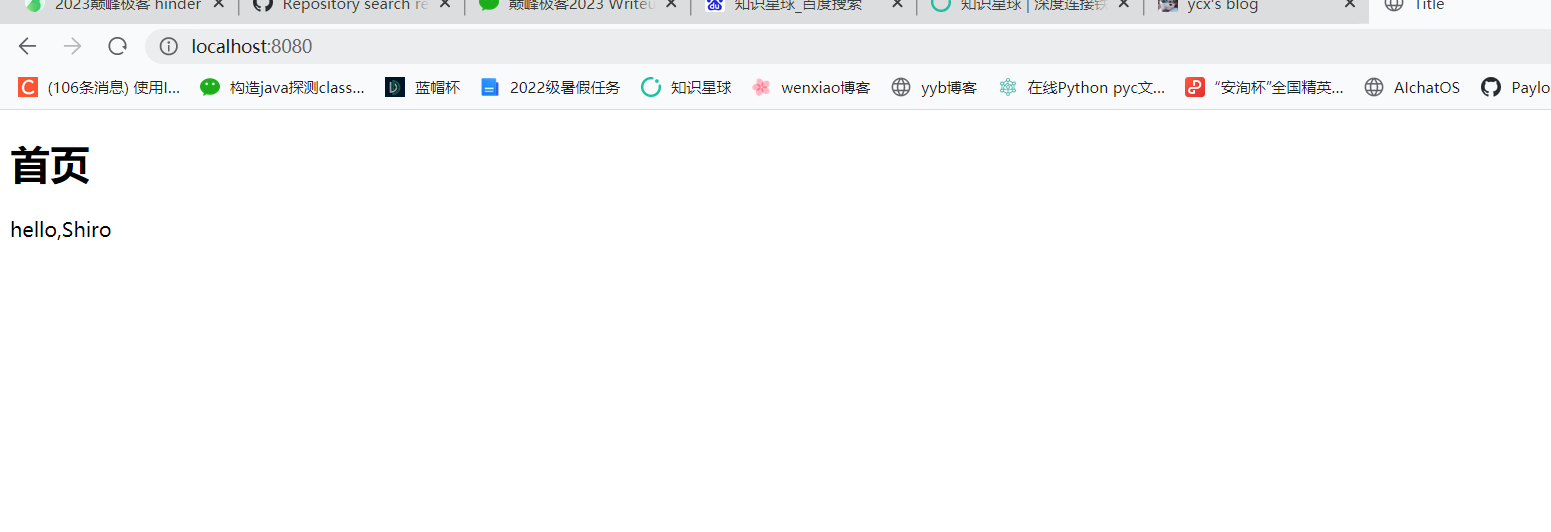
<h1>首页</h1>
<p th:text="${msg}"></p>
</body>
</html>
|
Controller包下新建controller.java
1
2
3
4
5
6
7
8
9
10
11
12
13
14
15
| package com.example.shiro.controller;
import org.springframework.stereotype.Controller;
import org.springframework.ui.Model;
import org.springframework.web.bind.annotation.RequestMapping;
@Controller
public class MyController {
@RequestMapping({"/","/index"})
public String index(Model model){
model.addAttribute("msg", "hello,Shiro");
return "index";
}
}
|
启动spring boot
三大功能,基础理解
Subject:用户
SecurityManager:管理所有用户
Realm:连接数据
导入jar包
1
2
3
4
5
| <dependency>
<groupId>org.apache.shiro</groupId>
<artifactId>shiro-spring</artifactId>
<version>1.4.1</version>
</dependency>
|
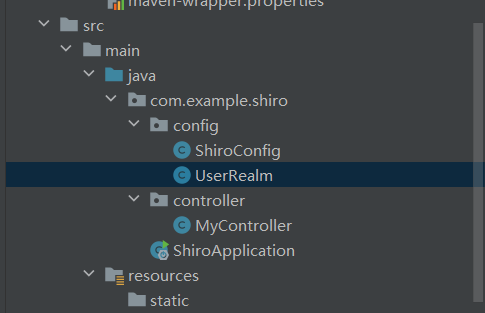
编写ShiroConfig、UserRealm
1
2
3
4
5
6
7
8
9
10
11
12
13
14
15
16
17
18
19
20
21
22
23
24
25
26
27
28
29
30
31
32
33
34
35
36
37
38
39
40
41
42
43
44
45
46
47
48
49
50
51
52
53
54
55
56
57
58
59
60
61
62
63
64
65
| package com.example.shiro.config;
import org.apache.shiro.authc.AuthenticationException;
import org.apache.shiro.authc.AuthenticationInfo;
import org.apache.shiro.authc.AuthenticationToken;
import org.apache.shiro.authz.AuthorizationInfo;
import org.apache.shiro.realm.AuthorizingRealm;
import org.apache.shiro.subject.PrincipalCollection;
public class UserRealm extends AuthorizingRealm {
//授权
@Override
protected AuthorizationInfo doGetAuthorizationInfo(PrincipalCollection principalCollection) {
System.out.println("执行了=》授权doGetAuthorizationInfo");
return null;
}
//认证
@Override
protected AuthenticationInfo doGetAuthenticationInfo(AuthenticationToken authenticationToken) throws AuthenticationException {
System.out.println("执行了=》认证doGetAuthenticationInfo");
return null;
}
}
package com.example.shiro.config;
import com.example.shiro.config.UserRealm;
import org.apache.shiro.spring.web.ShiroFilterFactoryBean;
import org.apache.shiro.web.mgt.DefaultWebSecurityManager;
import org.springframework.beans.factory.annotation.Qualifier;
import org.springframework.context.annotation.Bean;
import org.springframework.stereotype.Controller;
@Controller
public class ShiroConfig {
//三大核心要素:
//ShiroFilterFactoryBean
//第三步:
public ShiroFilterFactoryBean getShiroFilterFactoryBean(@Qualifier("securityManager") DefaultWebSecurityManager defaultWebSecurityManager){
ShiroFilterFactoryBean bean = new ShiroFilterFactoryBean();
//设置安全管理器
bean.setSecurityManager(defaultWebSecurityManager);
return bean;
}
//DafaultWebSecurityManager
//第二步:
@Bean(name="securityManager")
public DefaultWebSecurityManager getDefaultWebSecurityManager(@Qualifier("userRealm") UserRealm userRealm){
DefaultWebSecurityManager securityManager = new DefaultWebSecurityManager();
//关联UserRealm
securityManager.setRealm(userRealm);
return securityManager;
}
//创建realm对象,需要自定义类
//第一步:
@Bean
public UserRealm userRealm(){
return new UserRealm();
}
}
|
编写html页面
在templates目录下创建user目录编写html页面,add.html,update.html
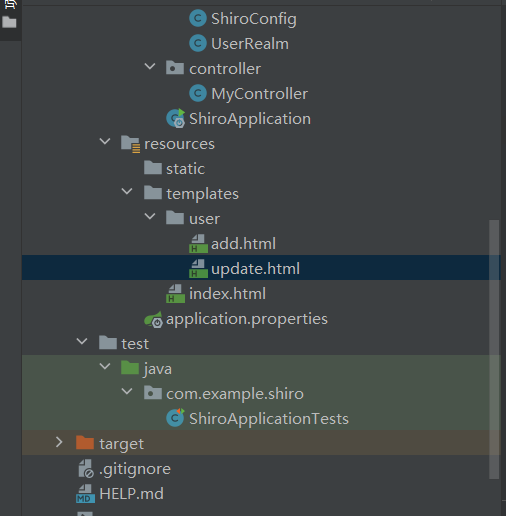
1
2
3
4
5
6
7
8
9
10
11
12
13
14
15
16
17
18
19
20
| <!DOCTYPE html>
<html lang="en">
<head>
<meta charset="UTF-8">
<title>Title</title>
</head>
<body>
<h1>add</h1>
</body>
</html>
<!DOCTYPE html>
<html lang="en">
<head>
<meta charset="UTF-8">
<title>Title</title>
</head>
<body>
<h1>update</h1>
</body>
</html>
|
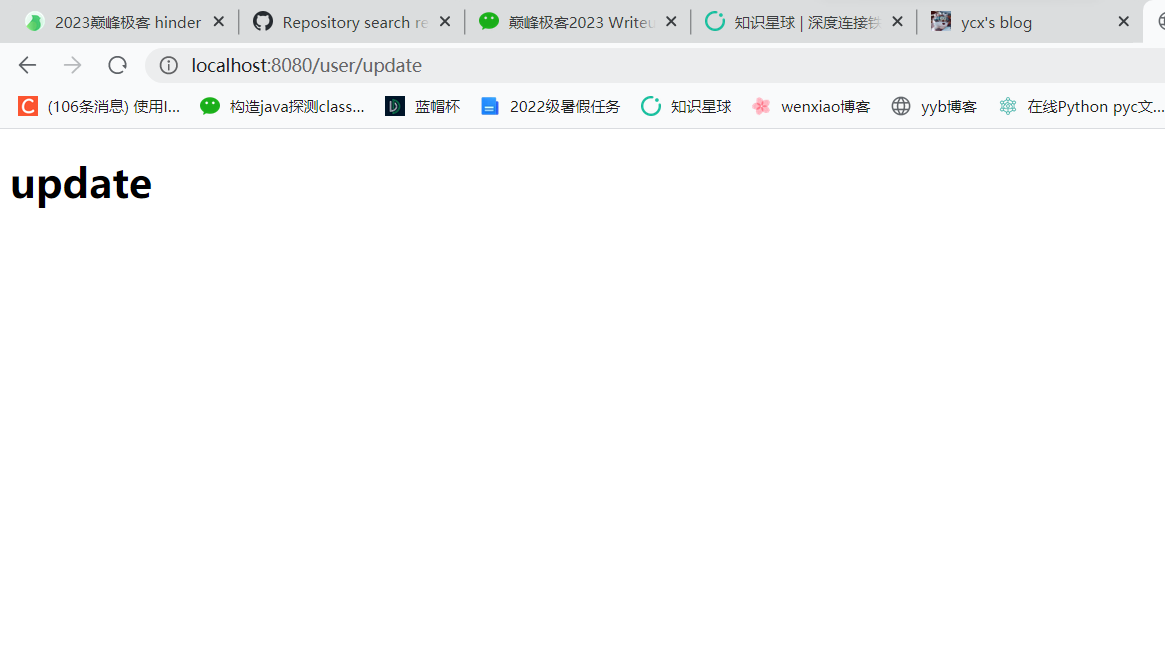
修改MyController,增加响应请求
1
2
3
4
5
6
7
8
9
10
11
12
13
14
15
16
17
18
19
20
21
22
23
24
25
| package com.example.shiro.controller;
import org.springframework.stereotype.Controller;
import org.springframework.ui.Model;
import org.springframework.web.bind.annotation.RequestMapping;
@Controller
public class MyController {
@RequestMapping({"/","/index"})
public String index(Model model){
model.addAttribute("msg", "hello,Shiro");
return "index";
}
@RequestMapping("/user/add")
public String add( ){
return "user/add";
}
@RequestMapping("/user/update")
public String update( ){
return "user/update";
}
}
|
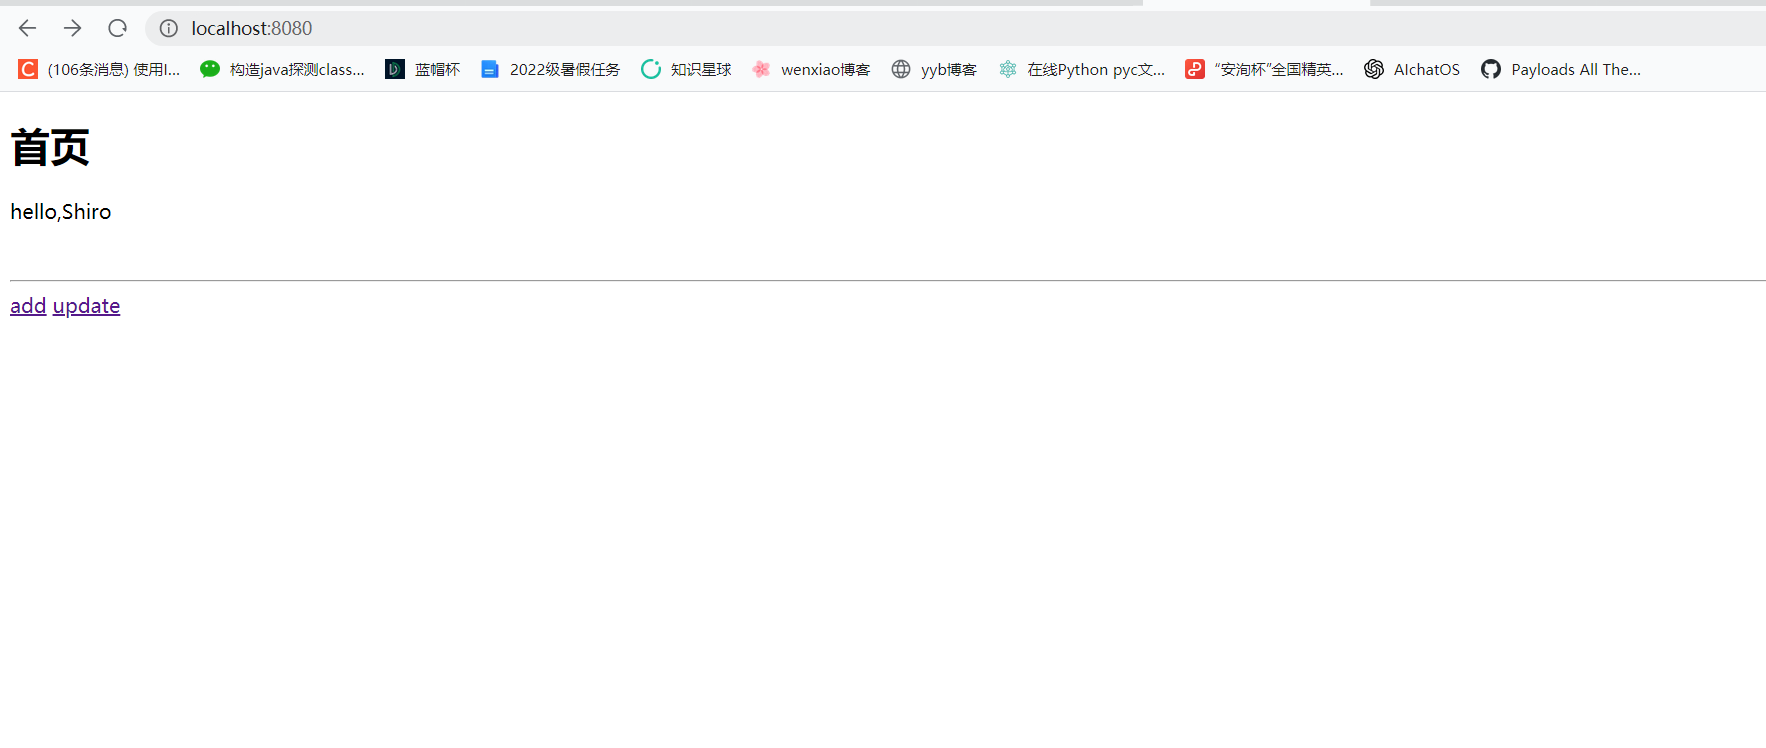
修改index首页
1
2
3
4
5
6
7
8
9
10
11
12
13
14
15
16
17
| <!DOCTYPE html>
<html lang="en" xmlns:th="https://www.thymeleaf.org"
xmlns:shiro="https://www.thymeleaf.org/thymeleaf-extras-shiro">
<head>
<meta charset="UTF-8">
<title>Title</title>
</head>
<body>
<h1>首页</h1>
<p th:text="${msg}"></p>
<br/><hr>
<a th:href="@{/user/add}">add</a>
<a th:href="@{/user/update}">update</a>
</body>
</html>
|
shiro实现登录拦截
编写一个login登录页面
1
2
3
4
5
6
7
8
9
10
11
12
13
14
15
16
17
18
| <!DOCTYPE html>
<html lang="en">
<head>
<meta charset="UTF-8">
<title>登录</title>
</head>
<body>
<h1 align="center">登录</h1>
<hr>
<form action="">
<p align="center">用户名:<input type="text" name="username"></p>
<p align="center">密 码:<input type="text" name="password"></p>
<p align="center"><input type="submit"></p>
</form>
</body>
</html>
|
在MyController 增加跳转
1
2
3
4
| @RequestMapping("/toLogin")
public String toLogin(){
return "login";
}
|
添加shiro的内置过滤器
anon:无需认证就可以访问
authc:必须认证了才能让问
user:必须拥有,记住我功能,才能访问
perms:拥有对某个资源的权限才能访问
role:拥有某个角色权限才能访问
1
2
3
4
5
6
7
8
9
10
11
12
13
14
15
16
17
18
19
20
21
22
23
24
25
26
27
28
29
30
31
32
| @Controller
public class ShiroConfig {
//三大核心要素:
//ShiroFilterFactoryBean
//第三步:
@Bean
public ShiroFilterFactoryBean getShiroFilterFactoryBean(@Qualifier("securityManager") DefaultWebSecurityManager defaultWebSecurityManager){
ShiroFilterFactoryBean bean = new ShiroFilterFactoryBean();
//设置安全管理器
bean.setSecurityManager(defaultWebSecurityManager);
//添加Shiro的内置过滤器
/*anon:无需认证就可以访问
authc:必须认证了才能让问
user:必须拥有,记住我功能,才能访问
perms:拥有对某个资源的权限才能访问
role:拥有某个角色权限才能访问*/
//设置登录权限,登录拦截
Map<String, String> filterMap = new LinkedHashMap<>();
//filterMap.put("/user/add", "authc");
//filterMap.put("/user/update", "authc");
filterMap.put("/user/*", "authc");
bean.setFilterChainDefinitionMap(filterMap);
//设置登录的请求
bean.setLoginUrl("/toLogin");
return bean;
}
|
java_web
Shiro 550/CVE-2016-4437
© 2024 ycxlo
Powered by Hexo & NexT.Muse